The use of yogurt in bazlama is not incidental — it is central to what makes this flatbread so good. The acidity in yogurt performs two important functions simultaneously: it relaxes the gluten network in the dough, producing a tender, yielding crumb that stays soft even after the bread has cooled, and it reacts with the yeast to create a more complex fermentation environment that contributes subtle flavor depth to the finished bread. Plain yogurt or Greek yogurt both work well, with Greek yogurt producing a slightly richer, more substantial dough due to its higher protein content. The combination of yeast for lift and yogurt for tenderness is what gives bazlama its characteristic texture — thick and fluffy but never heavy, soft all the way through but with enough structure to hold fillings or stand up to enthusiastic dipping.
Ingredients
3 cups (375 grams) all-purpose flour, plus a little extra for dusting and kneading
1 cup warm water — the right temperature is important: it should feel comfortably warm against the inside of your wrist, approximately 100 to 110 degrees Fahrenheit (38 to 43 degrees Celsius). Too hot and it will kill the yeast; too cold and the yeast will not activate properly
2 teaspoons instant or active dry yeast
1 teaspoon granulated sugar — this feeds the yeast and contributes to the golden color of the bread
Half a cup plain yogurt or Greek yogurt, at room temperature
2 tablespoons extra virgin olive oil, plus a little more for cooking
1 teaspoon fine salt
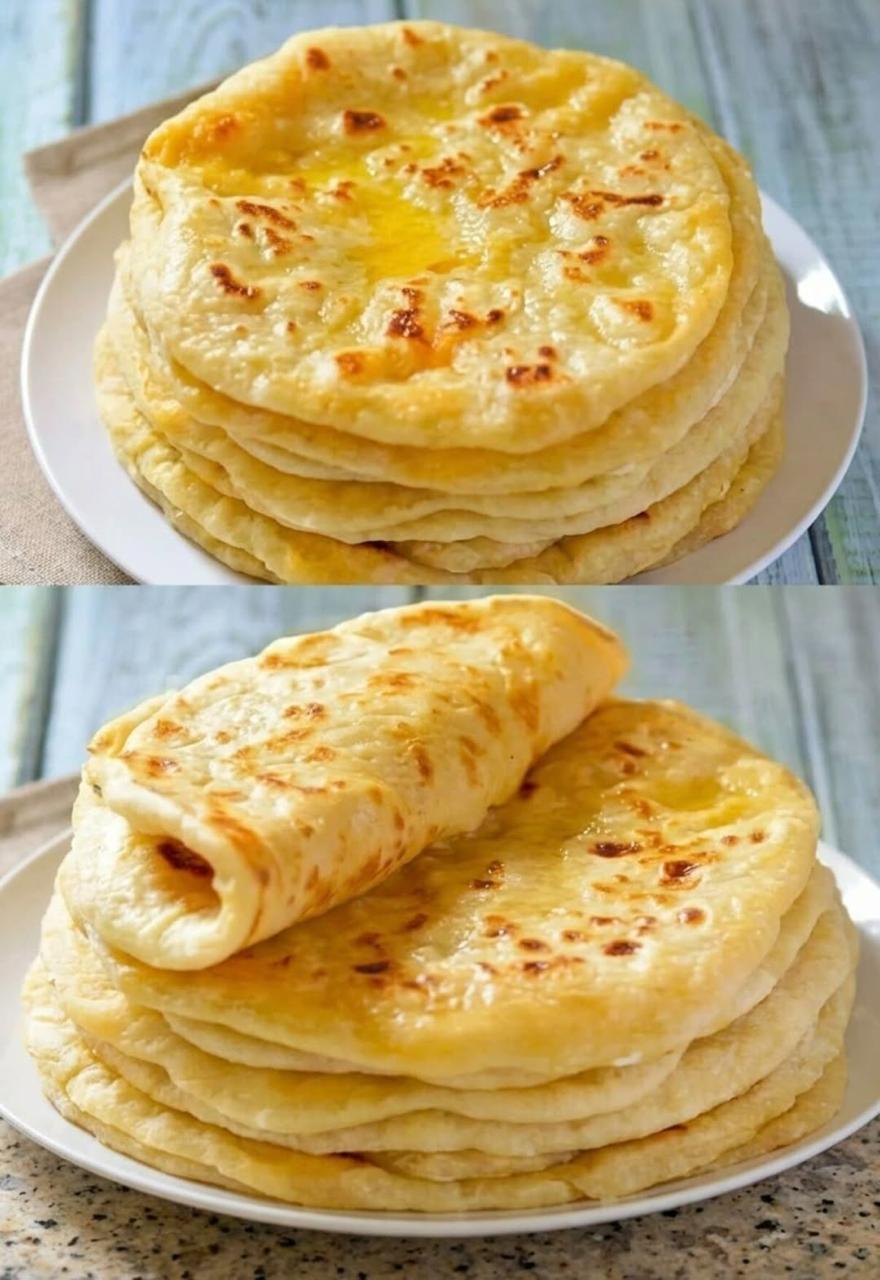
For finishing: 3 tablespoons melted butter or extra virgin olive oil, a handful of finely chopped fresh parsley, and a pinch of red chili flakes (optional). This traditional topping is brushed over the warm bread immediately after it comes off the pan and is one of the great simple pleasures of Turkish home cooking.
Step-by-Step Instructions
Step 1: Activate the Yeast
In a large mixing bowl, combine the warm water, yeast, and sugar. Stir briefly to dissolve the yeast and sugar into the water. Set the bowl aside in a warm place — near a warm oven, on top of the refrigerator, or simply in a warm corner of the kitchen — and allow the mixture to rest for 5 to 10 minutes. During this time, the yeast will activate and the mixture will become visibly foamy and bubbly, with a distinctly yeasty aroma. This foaming is confirmation that the yeast is alive and active. If the mixture does not foam after 10 minutes, the yeast may be expired or the water temperature may have been incorrect — it is better to start again with fresh yeast than to proceed with inactive yeast, as the bread will not rise properly.
Step 2: Build the Dough
Once the yeast is foamy and active, add the yogurt and olive oil to the bowl and whisk or stir until the yogurt is fully incorporated into the liquid. The mixture will look slightly curdled or uneven at this stage — this is normal and will come together as you add the flour. Add the salt and approximately three-quarters of the flour to the bowl. Stir with a wooden spoon or sturdy spatula until a rough, shaggy dough forms. Once the mixture is too thick to stir effectively, use your hands to bring it together into a ball. Turn the dough out onto a lightly floured surface.
Step 3: Knead the Dough
Knead the dough by hand for 8 to 10 minutes, working with the heel of your hand to push the dough away from you, then folding it back toward you and rotating it a quarter turn before pushing again. During the first few minutes, the dough will feel sticky and uncooperative. Add the remaining flour a tablespoon at a time as needed during the kneading process — only enough to prevent the dough from sticking to your hands and the surface, not enough to make it dry. The finished dough should be smooth, soft, and slightly tacky: when you poke it with a finger, the dough should release your finger easily without leaving wet dough behind. A common description of correctly kneaded bazlama dough is that it feels like the soft part of your earlobe. If you have a stand mixer with a dough hook, knead on low speed for 6 to 8 minutes until the dough is smooth and pulls away cleanly from the sides of the bowl.
Step 4: Let the Dough Rise
Form the kneaded dough into a smooth ball and place it in a lightly oiled bowl, turning it once to coat all sides with oil. Cover the bowl tightly with plastic wrap or a clean, damp kitchen towel and place it in a warm location. Allow the dough to rise until it has doubled in size, which typically takes 1 to 1.5 hours at room temperature in a warm kitchen. If your kitchen is cool, you can create a warmer environment by placing the covered bowl in a turned-off oven with only the oven light switched on — the heat from the bulb creates a gentle, consistent warmth that is ideal for yeast dough. Do not rush this step: the rise is what develops both the texture and the flavor of the bread.
Step 5: Divide and Shape
Once the dough has doubled in size, turn it out onto a lightly floured surface and punch it down gently to release the accumulated gas. Divide the dough into 6 to 8 roughly equal pieces — 6 pieces produce larger, thicker flatbreads; 8 pieces produce smaller ones that are a bit more manageable in the pan. Shape each piece into a smooth ball by pulling the sides of the dough down and under, creating surface tension. Place the balls on the floured surface, dust them lightly with flour, and cover them with a clean kitchen towel. Allow them to rest for 15 minutes. This short rest relaxes the gluten that was worked during shaping, making the dough considerably easier to roll out without it springing back.
see continuation on next page